Photo Sequence
Use the ability to acquire content automatically to capture a photo sequence.
Let's say, we want a sequence of 9 photos running from top left to bottom right:
Add 9 camera layers ![]() .
.
The last created layer will get its content as the last, so it has to be in the bottom right area.
Drag the corners of the layer to the desired position and align them properly.
Activate the previous layer ![]() .
.
This layer has to be in the bottom middle position.
Drag the corners of the layer to the desired position and align them properly.
Activate the previous layer ![]() .
.
This layer has to be in the bottom left position.
Drag the corners of the layer to the desired position and align them properly.
Activate the previous layer ![]() .
.
This sucks.
A lot.
As we already have a vision of what we want, let's change the approach and...
Create a template with a text editor
First, to get an impression which attributes are available, create a mashup with one camera layer and save it as template file via the menu  .
.
Open the file in a text editor.
The template description consists of lines with the first character determining the type of the line, followed by its content:
Line types
# a comment line
! the layer type, a keyword
$ start of an attribute, a keyword
& start of an sub-attribute, a keyword
: the value of an attribute
#20131025-0943_0009
#--------------------
!Camera
$CURVEDCLIPPATH
:false
$BORDERCOLOR
:ffffff
$BORDERSTROKEWIDTH
:78
$LAYERALPHA
:10000
$CONTENTFRAME_OFFSETX
:0
$CONTENTFRAME_OFFSETY
:0
$CONTENTFRAME_ROTATION
:0
$CORNERS
:0
:0
:10000
:0
:10000
:10000
:0
:10000
For $CURVEDCLIPPATH, $BORDERCOLOR, $BORDERSTROKEWIDTH, $LAYERALPHA, $CONTENTFRAME_OFFSETX, $CONTENTFRAME_OFFSETY and $CONTENTFRAME_ROTATION the default values are ok, so we don't need to set them.
This leaves $CORNERS for a basic camera layer description:
!Camera
$CORNERS
:0
:0
:10000
:0
:10000
:10000
:0
:10000
The $CORNERS attribute expects consecutive x/y coordinates as values.
The values itself are relative measures, ranging from 0.00 – 100.00% (of the mashup's width and height respectively).
So, a template with 9 equal distributed camera layers looks like this:
#1
!Camera
$CORNERS
:0
:0
:3300
:0
:3300
:3300
:0
:3300
#2
!Camera
$CORNERS
:3300
:0
:6600
:0
:6600
:3300
:3300
:3300
#3
!Camera
$CORNERS
:6600
:0
:10000
:0
:10000
:3300
:6600
:3300
#4
!Camera
$CORNERS
:0
:3300
:3300
:3300
:3300
:6600
:0
:6600
#5
!Camera
$CORNERS
:3300
:3300
:6600
:3300
:6600
:6600
:3300
:6600
#6
!Camera
$CORNERS
:6600
:3300
:10000
:3300
:10000
:6600
:6600
:6600
#7
!Camera
$CORNERS
:0
:6600
:3300
:6600
:3300
:10000
:0
:10000
#8
!Camera
$CORNERS
:3300
:6600
:6600
:6600
:6600
:10000
:3300
:10000
#9
!Camera
$CORNERS
:6600
:6600
:10000
:6600
:10000
:10000
:6600
:10000
Save this to a file and open it in the app – there is our photo sequence mashup!
But the photos are taken in an odd sequence!?
Writing the above template I assumed, that your device is in landscape orientation.
If you hold your device in portrait orientation, visually the first layer (top left) becomes the third layer (top right), the second (top middle) becomes the sixth (middle right) and so on.
Therefore the sequence appears to be wrong.
Whenever you use a template for photo sequences or with images having exif-orientation info, you have to pay attention to the matching device orientation.
Static hires map
Why?
The source for the map layers is a quadratic view, sized about the small side of the device's screen. If the exported mashup's size is larger than this, the content gets up-scaled and loses visual quality.
By using the static hires map, the size of the source content is larger, so the loss of quality will be smaller.
Where from?
The app uses the following service to get a decent sized map image:

open.mapquestapi.com/staticmap/
“The Open Static Map Service enables a user to create static map images that are generated by a simple HTTP request.”
How?
Add a OpenStreetMap Layer ![]() .
.

Scroll to the bottom and

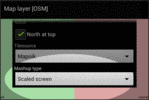
This presents you a list of types for the acquired content: 
If you select any of the top 3 options, a hires map image will be downloaded and used as content when you acquire the content of the layer (provided, you are connected to the internet, look at the
info button: ![]() ) .
) .
Why not?
- You don't need the quality. To download and use a static map image costs time and resources, save them if the scaled screen suffices.
- It does not deliver. The on-screen map and the static map image cannot be matched exactly, so you have to try and see what you get. If you are not satisfied, try again with a different zoom level.
What's the problem?
On-screen map and static map image do not have the same zoom levels, especially the satellite static image has fewer working zoom levels. Also, the resulting map image depends not only on the zoom level, but also on the image size, so results vary.
Remove content for retry
1. If the active layer has acquired content, the content will be removed; the layer stays alive
2. If the active layer has no acquired content, the layer itself will be removed
Odd layer shapes
Technically, the outline of a layer is a clip path defined by the layers corners.
Try to add some corners and drag them to positions which makes the outline overlap.
Try it with straight and curved outlines.

Frames, stickers
Import previously shot pictures from your device via Image-Layers to compose a conventional photo collage.
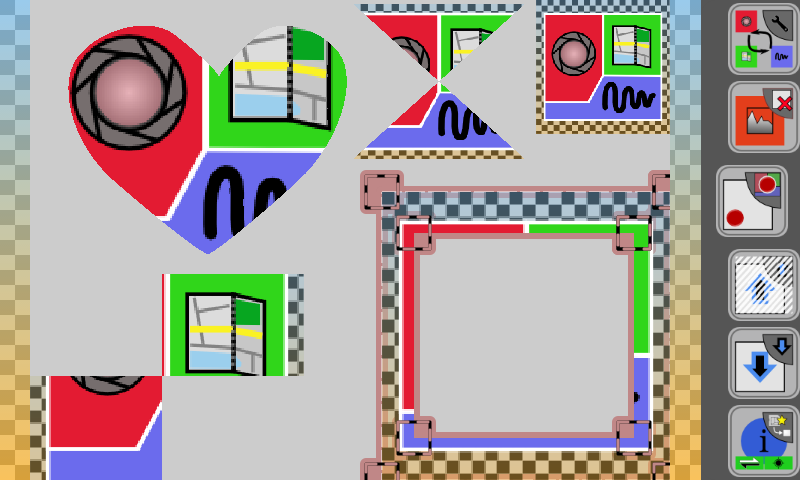
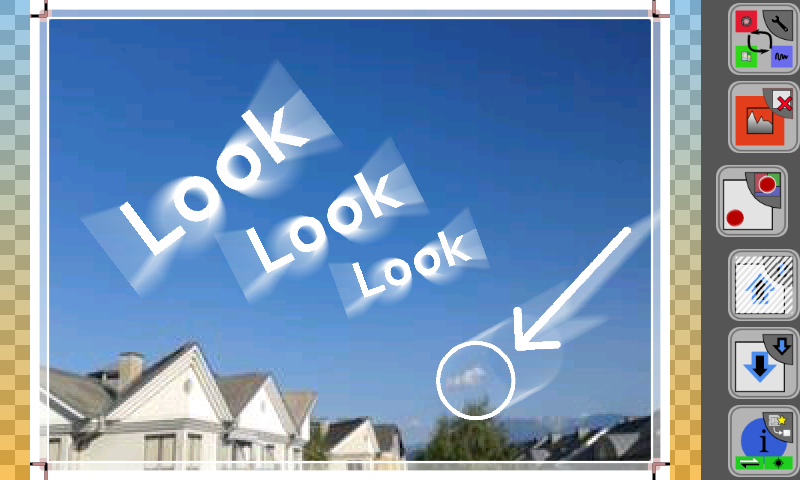
Or use prepared images with transparent areas to overlay other layers with a frame and stickers:

Modify a layers content with Aviary Photo Editor
Now, after you have acquired the content of a layer,
Note: For map layers, only the center area of the content is visible in the mashup, in the editor the whole content is used. Keep this in mind, if you apply modifications.